Flutter CI 搭建初探
2019-08-14 小文字
背景
通常项目代码合并前,需要预编译,至少保证分支不会崩溃,更健壮些需要做到预合并校验。在开发开源项目是有很多的CI/CD平台可以选用,比如声名在外的Travis CI。如果是私有的项目要么选择付费,要么就是自行搭建CI平台了。
本文借着Flutter项目,介绍一下搭建简单可用的CI服务的过程。
CI 平台选用
首先声明,没有任何打广告的意思,最著名的开源CI工具当属Jenkins,支持Git和SVN等常见的版本管理工具。但是Jenkins确实不那么好用。最终选择的是蒲公英团队开源的Flowci。下面主要基于Flowci项目介绍如何搭建。从Gihtub上可以看到有一堆关于Flowci跑不起来的的Issues,这也预示我们要做好填坑的准备。
Flowci安装
搭建流程主要参考项目说明,为了省力,笔者选用的是基于Docker的安装
https://github.com/FlowCI/docs
遇到的第一个问题是,下载镜像无法成功,多次重试均在类似位置中断。
Pulling flow.ci (flowci/flow-platform:latest)...
latest: Pulling from flowci/flow-platform
a2149b3f2ac2: Pull complete
a1c1ccd82e58: Pull complete
0da65c452d32: Pull complete
9a685a4ea00d: Pull complete
219f2e47d815: Pull complete
7d0b5802c7bf: Pull complete
cb4b381f8a44: Pull complete
1d959ea68b27: Pull complete
748d65c1039e: Pull complete
9dd410fe158f: Pull complete
3c1e71063aec: Pull complete
e4baeac59d4b: Pull complete
ddeadbb2fedc: Pull complete
28e5da9c54af: Pull complete
0c2456188a6a: Pull complete
c43b6cdb85e0: Downloading [================================>                  ] 35.92 MB/56.03 MB
25bc82d3089c: Download complete
e637dda4bf13: Downloading [===>                                               ] 13.44 MB/182.7 MB
9a2b33a39ef2: Downloading
7823e6c6c2a3: Waiting
3af5cef93b34: Waiting
55f36cc3d4ba: Waiting
c32950bff917: Waiting
d6946b100c95: Waiting
594148c7a217: Waiting
bc49e452cffa: Waiting
fd2b78c44203: Waiting
be99e2826d01: Waiting
9b3794a6b942: Waiting
320f6d490ff8: Waiting
034b4eb671a8: Waiting
ERROR: unauthorized: authentication required
看错误提示的是需要授权,ERROR: unauthorized: authentication required
但是这明显不科学,单纯pull一个镜像是不需要授权的,经过分析,这个进行被分割30个片段下载,可以去人这个镜像文件比较大,docker默认的并发数是三条线程,通过加大并发数成功绕过该问题。
{
    "max-concurrent-uploads": 1,
    "max-concurrent-downloads": 1
}
通过docker的GUI客户端,可以配置上述参数,例如把下载数改成6。
整个flowci三个不同模块:
- flow-platform:后台控制server, java项目
- flow-web:前端操作页面,nodejs项目
- agent:真正执行ci的构建者,负责编译工程, jar包
在安装时,执行./start-services.sh同步跑起了前后端项目,agent有点特殊不能同时启动,需要在前端页面内生成agnet配置后在手工启动jar工程。
启动后可以看到如下容器运行

./start-agent.sh启动agent之后
503 25421 1 400e 0 31 0 10234352 159704 - S 0 ttys000 1:08.14 /usr/bin/java -jar ./agent/flow-agent-v0.1.4-alpha.jar http://localhost:8080/flow-api 4017cfeb-1fb2-4
由于这里实在本地运行,因此我们省略了Flutter的环境搭建,因为本地已经搭建好了,如果是服务器上,则需要在agent运行前确保Flutter开发环境搭建好了。
webhook自动编译
gitlab,github等平台都支持webhook来通知指定服务,这里我们需要在Flutter项目的git仓库上配置好webhook api

与此同时,我们需要在Flowci上进行工作流的配置,主要是基于yml的配置,配置文件示例如下
# The template used to build Android project via fastlane
#
# Pre-requirements:
#
#   - Setup default agent directory, the default is ${HOME} folder if the variable not defined
#     - FLOW_AGENT_WORKSPACE:
#
#   - Setup project name
#     - ANDROID_PROJECT_NAME: your project name
#
#   - Setup Android build parameter:
#     - ANDROID_GRADLE_BUILD_TASK
#
# Import to your project:
#   - Rename android.flow.yml to .flow.yml and save to project root directory

flow:
  - envs:
     FLOW_AGENT_WORKSPACE: "${HOME}/agent-workspace"
     FLOW_ENV_OUTPUT_PREFIX: "ANDORID_OUTPUT_"
     ANDROID_GRADLE_BUILD_TASK: "build"
     ANDROID_PROJECT_NAME: "hades"
     FLOW_WELCOME_MESSAGE: "hello.world"
    steps:
      - name: Init
        script: |
          echo ${FLOW_WELCOME_MESSAGE}
          pwd && ls
      - name: Git Clone
        script: |
          rm -r -f ${ANDROID_PROJECT_NAME}
          export GIT_SSH_COMMAND="ssh -o UserKnownHostsFile=/dev/null -o StrictHostKeyChecking=no"
          git clone --branch ${FLOW_GIT_BRANCH} --single-branch ${FLOW_GIT_URL} ${ANDROID_PROJECT_NAME}

      - name: Build
        script: |
          cd ${ANDROID_PROJECT_NAME}
          flutter build apk --release

      - name: Find APK
        script: |
          cd ${ANDROID_PROJECT_NAME}
          array=$(find ./ -name *.apk 2>&1)
          for file in ${array[@]}
          do
            echo $file
            export ANDROID_OUTPUT_IPA_PATH=$file
          done

      - name: Print APK Path
        script: |
          echo ${ANDROID_OUTPUT_IPA_PATH}
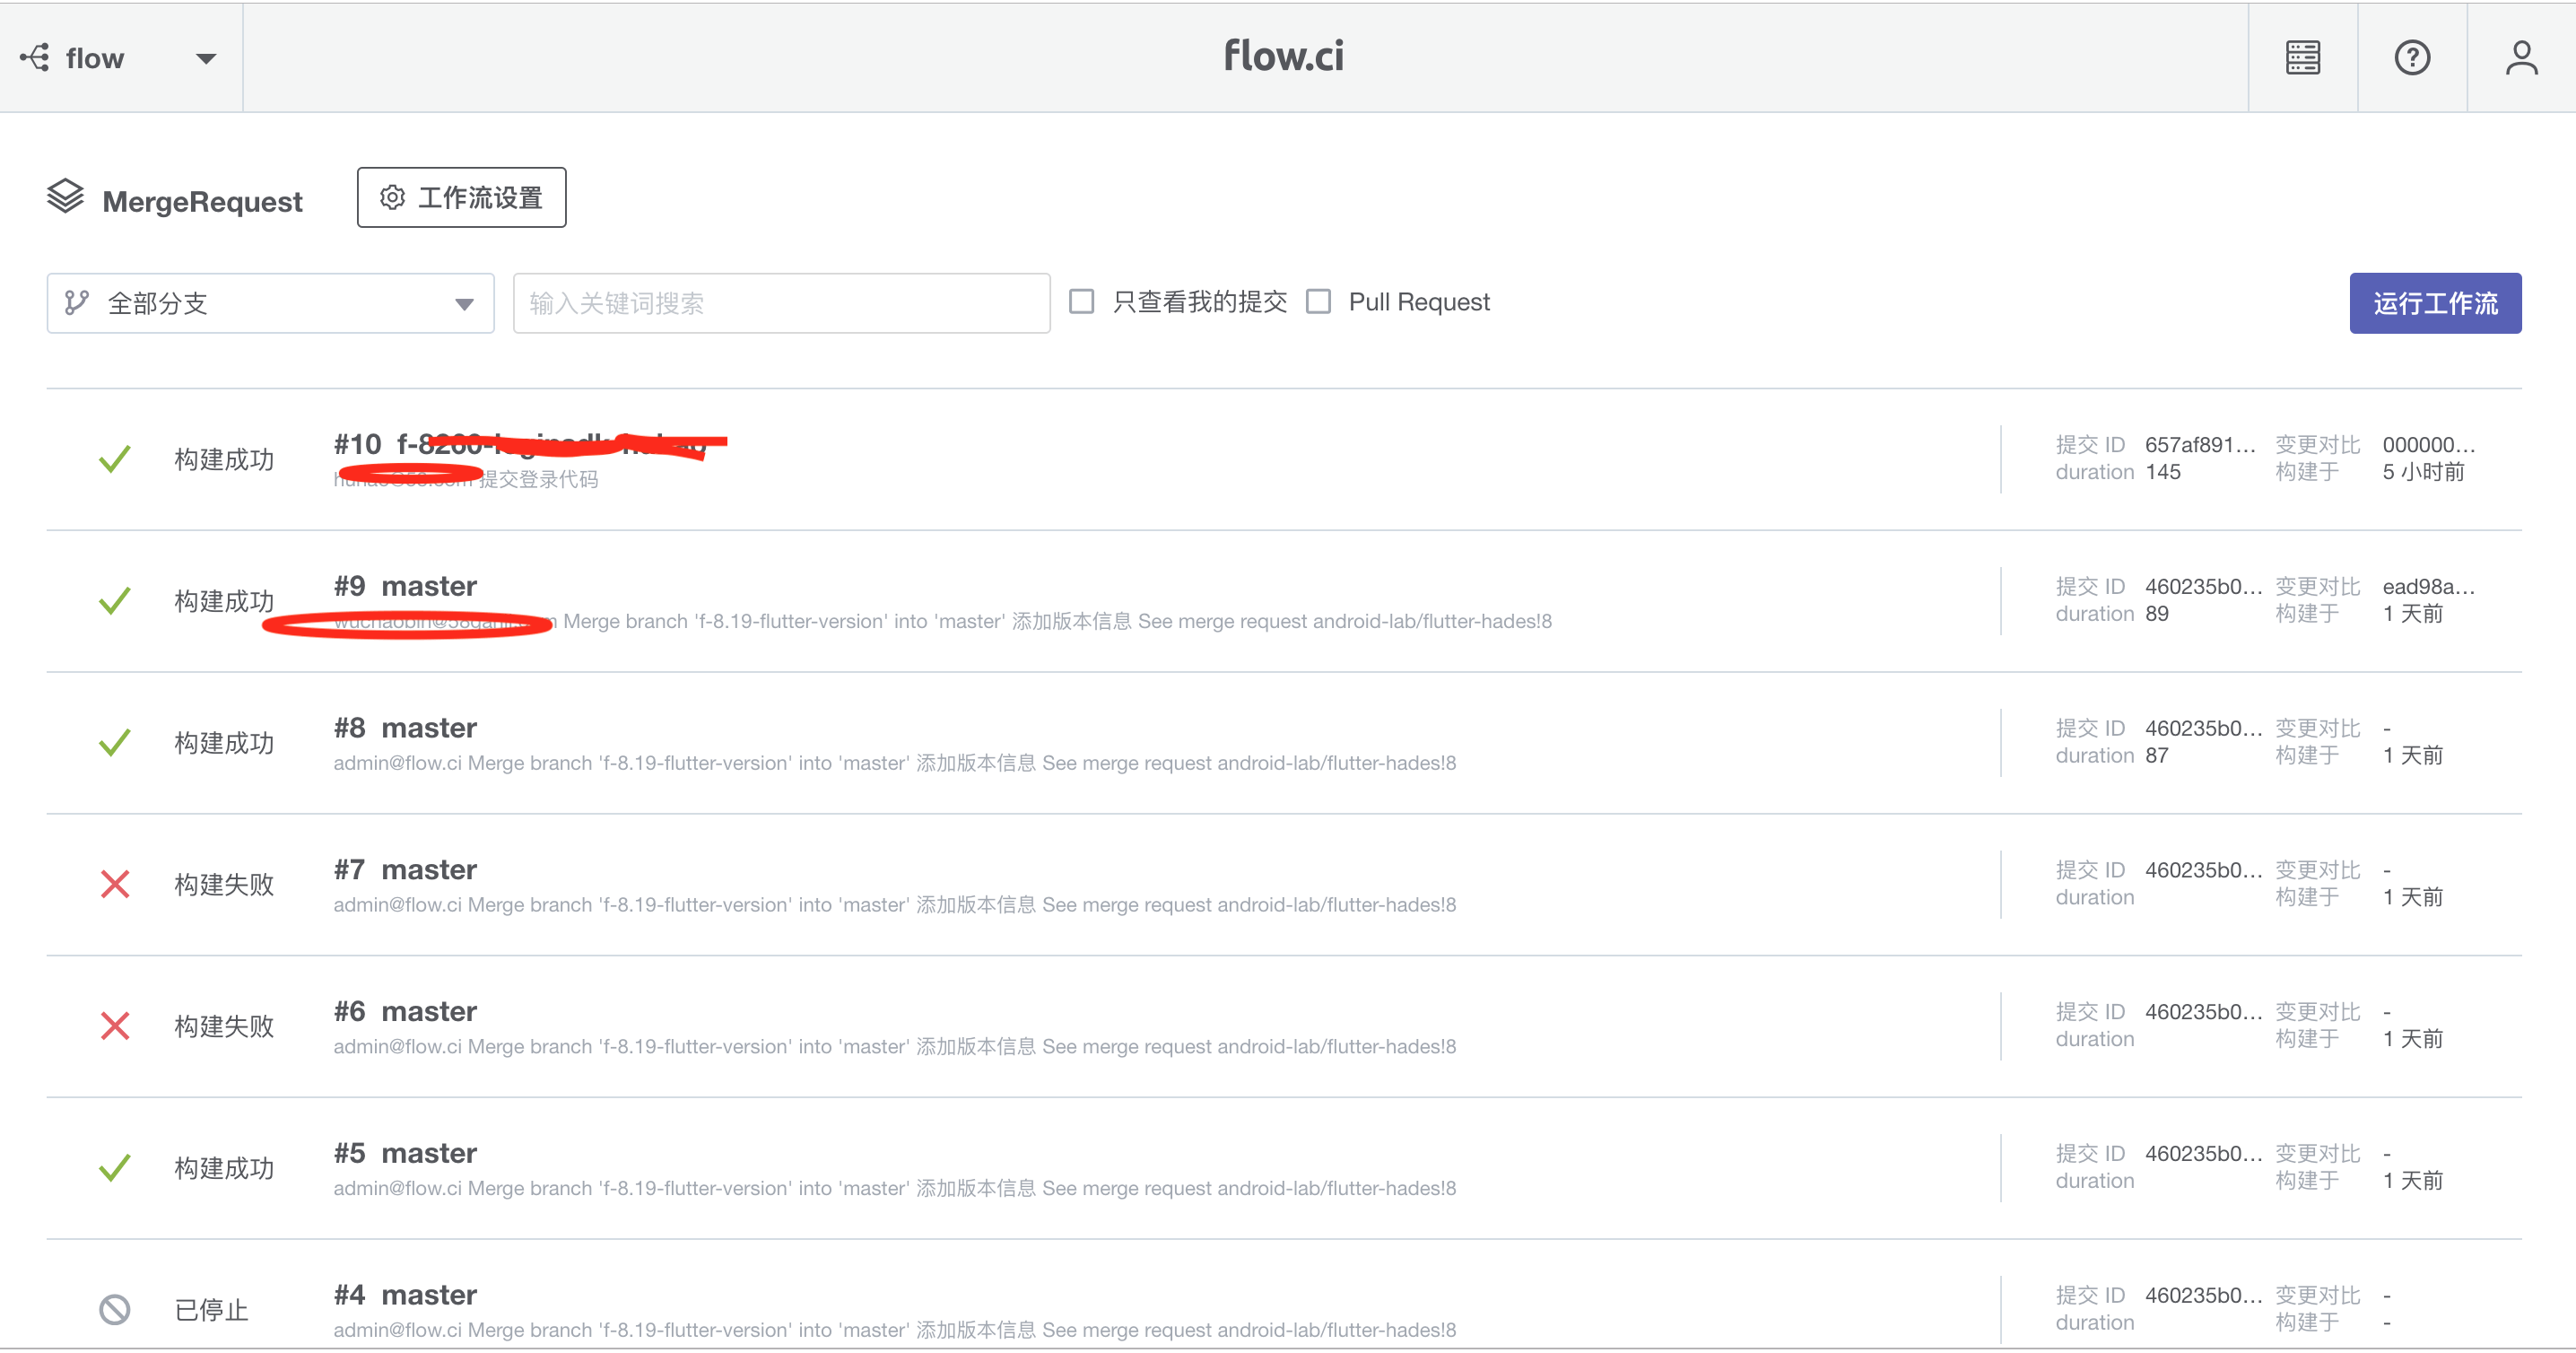
当有提交到仓库时,我们根据我们的设置,会触发响应的编译动作

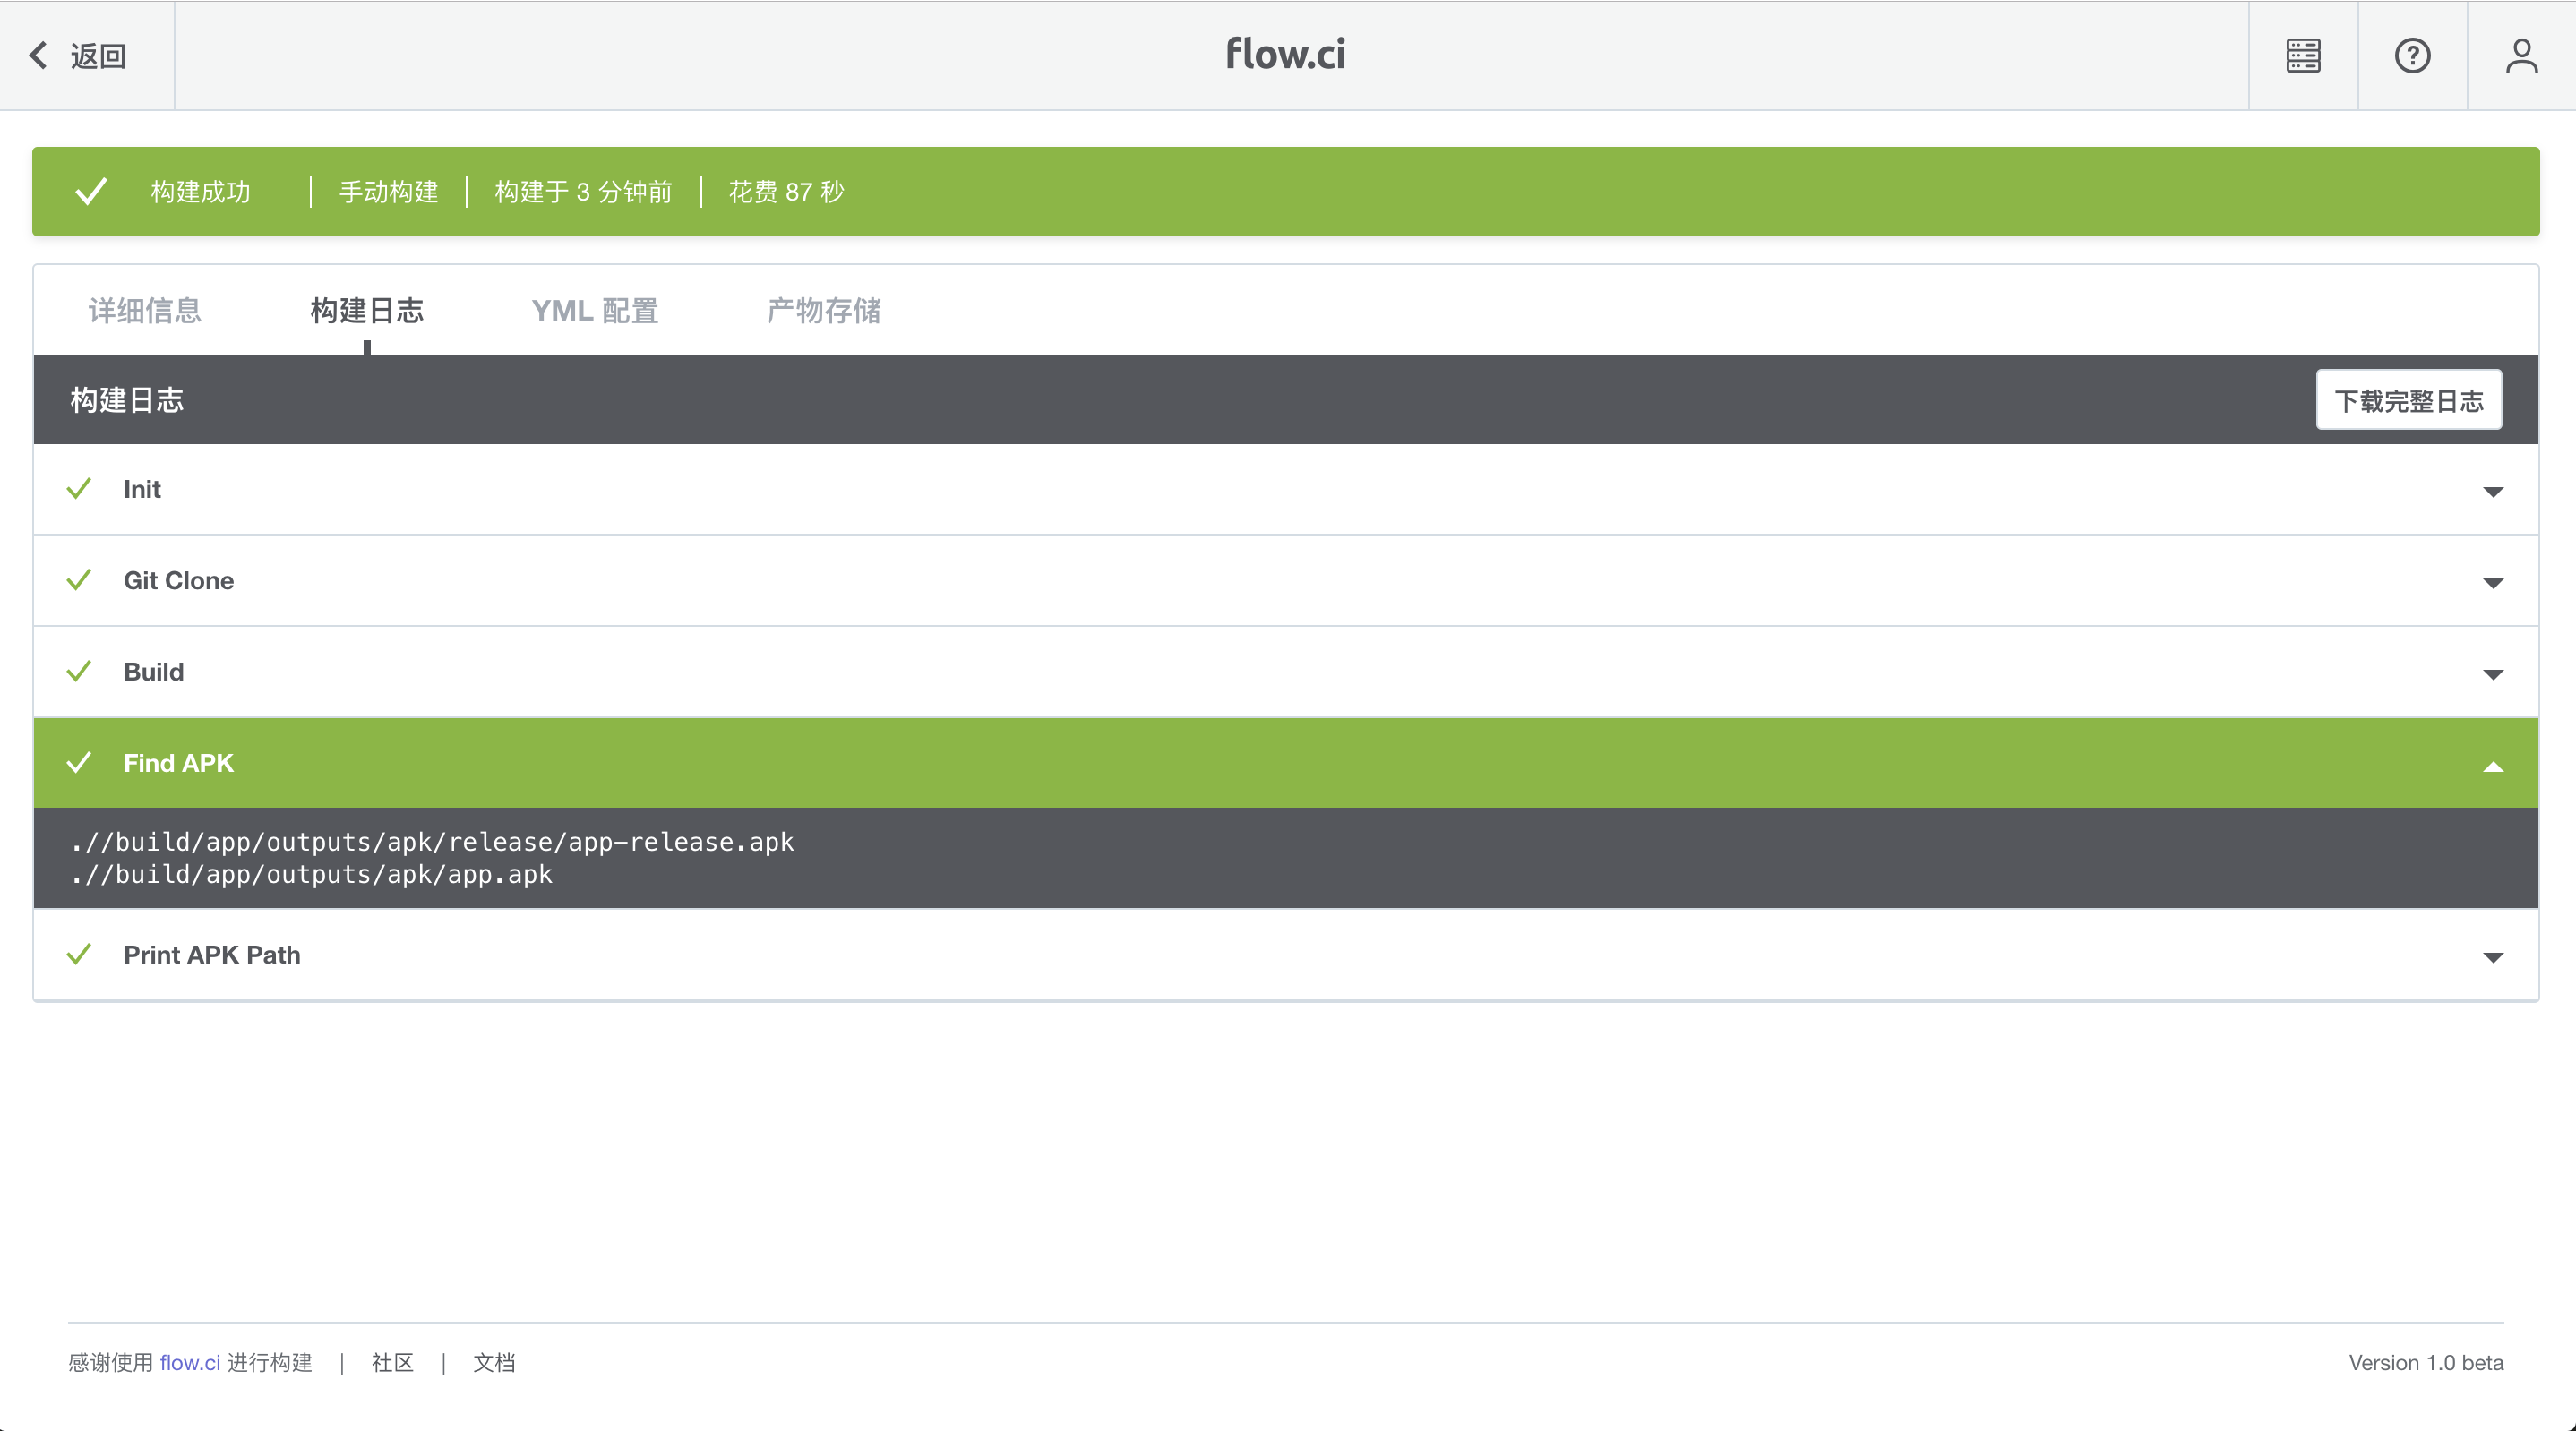
编译的结果可以展开查看

小结
注意在配置webhook的时候api的地址不要写错了,如果是本机运行,需要填写本机在局域网内的ip,如果是服务器,可以填写对应ip和端口,或者域名。 通过官方教程,我们成功将ci服务部署在了本地,如果在远程物理机上也是类似的。
那么如何将服务部署到云服务上?后续我们将继续分享。